Hello Word Tutorial
In case it could be useful for some curious minds, here is a little Hello World tutorial. If I forget to update it as the ZigMachine will evolve for sure, please open a ticket here!
-
.: at the root level, you will find basically only thebuild.zigfile which defines how to compile your Zig code in Web Assembly.-
docs: this is where the WASM Loader and the HTML using it is located. When your ZigMachine program is compiled, it is copied in this directory asbootloader.wasm -
tools: a collection of tools I quickly hacked in python to preprocess assets, typically PNG files containing bitmap fonts. Feel free to use them or not. It is possible to decode directly PNG in Zig but who would do that on an Atari or an Amiga? Preprocessing is key to achieve performance and frankly speaking it is fairly easier to do it in Python. -
src: this is where the ZigMachine code lives:-
assets: in Zig embedded data files need to be within the same directory as the code, so this is where I'm storing source gfx files to be converted to something more usable. -
effects: a collection of oldskool demo effects you can use or not, kind of a Demo Framework. -
scenes: this is where your main program will be, you can find some examples in this folder, some cracktros from The Empire, The Carebears,... -
sound: nothing exciting for now, but the sound capability of the ZigMachine should be there one day or another -
utils: a collection of utils (like console.log to debug in your browser, 3D math functions, datafiles loaders,... -
bootloader.zig: This is BIOS somewhat of the ZigMachine. Nothing to be modified here until you want to modify the ZigMachine :) -
zigos.zig: A very simple OS (which doesn't deserve to be named as OS) that gives you access to the Logical Framebuffers, set HBL handlers, clear the screen, set the border color...
-
-
- I recommend to use Visual Studio Code and its Zig extensions (Zig and Zig Language Server) but any text editor will work. Also install Zig of course :) And Python, at least to run the HTTP server to test (or use any other).
- Create a file
hello.ziginsrc/scenes - Copy this template (or not, up to you):
// --------------------------------------------------------------------------
// Imports
// --------------------------------------------------------------------------
const std = @import("std");

const ZigOS = @import("../zigos.zig").ZigOS;
const LogicalFB = @import("../zigos.zig").LogicalFB;
const Color = @import("../zigos.zig").Color;

const Console = @import("../utils/debug.zig").Console;
const Sprite = @import("sprite.zig").Sprite;

const convertU8ArraytoColors = @import("../utils/loaders.zig").convertU8ArraytoColors;

// --------------------------------------------------------------------------
// Constants
// --------------------------------------------------------------------------
const HEIGHT: usize = @import("../zigos.zig").HEIGHT;
const WIDTH: usize = @import("../zigos.zig").WIDTH;

const ZIG_LOGO = @embedFile("../assets/logo/zig_logo.raw");
const ZIG_LOGO_PAL = convertU8ArraytoColors(@embedFile("../assets/logo/zig_logo.pal"));
const WHITE_ENTRY: u8 = 7;
const BLACK_ENTRY: u8 = 0;

// --------------------------------------------------------------------------
// Variables
// --------------------------------------------------------------------------

// --------------------------------------------------------------------------
// Demo
// --------------------------------------------------------------------------
pub const Boot = struct {
    fb: *LogicalFB = undefined,
    counter_ram: u16 = undefined,
    counter_boot: u16 = undefined,
    logo: Sprite = undefined,

    pub fn init(self: *Boot, fb: *LogicalFB) void {
        self.fb = fb;
        self.counter_ram = 0;
        self.counter_boot = 0;

        self.logo.init(fb.getRenderTarget(), ZIG_LOGO, 65, 60, 20, 10, false, null);

        fb.setPalette(ZIG_LOGO_PAL);
        fb.setPaletteEntry(9, Color{ .r = 255, .g = 0, .b = 0, .a = 255 });
        fb.clearFrameBuffer(7);
    }

    pub fn update(self: *Boot) void {

        if (self.counter_ram < 16) self.counter_ram += 1;
        if (self.counter_ram == 16 and self.counter_boot < 35) self.counter_boot += 1;

        self.logo.update(null, null, null);
    }

    pub fn render(self: *Boot, zigos: *ZigOS) void {

        self.logo.render();

        const atari: [2]u8 = [2]u8{ 14, 15 };
        const top: u16 = 74;

        zigos.printText(self.fb, "Memory Test:", 8, top + 0, BLACK_ENTRY, WHITE_ENTRY);
        zigos.printText(self.fb, "WASM RAM:", 8, top + 10, BLACK_ENTRY, WHITE_ENTRY);
        zigos.printText(self.fb, "                ", 8 + 12 * 8, top + 10, WHITE_ENTRY, BLACK_ENTRY);

        var i: u16 = 0;
        while (i < self.counter_ram) : (i += 1) {
            zigos.printText(self.fb, "-", 8 + 12 * 8 + (i * 8), top + 10, WHITE_ENTRY, BLACK_ENTRY);
        }

        if (self.counter_ram == 16) {
            zigos.printText(self.fb, "  2048 KB", 8 + 19 * 8, top + 10, WHITE_ENTRY, BLACK_ENTRY);
            zigos.printText(self.fb, "Memory Test Complete.", 8, top + 20, BLACK_ENTRY, WHITE_ENTRY);

            i = 0;
            while (i < self.counter_boot) : (i += 1) {
                zigos.printText(self.fb, " ", 8 + (i * 8), 74 + 30, WHITE_ENTRY, BLACK_ENTRY);
            }
        }

        // footer
        zigos.printText(self.fb, &atari, 70, 180, 9, WHITE_ENTRY);
        zigos.printText(self.fb, "Stay Atari!", 100, 180, BLACK_ENTRY, WHITE_ENTRY);
        zigos.printText(self.fb, &atari, 200, 180, 9, WHITE_ENTRY);
    }
};- Then edit
src/floppy.zig, comment all lines and add this one:
const Demo = @import("scenes/hello.zig").Demo;- Compile the program:
zig build -Drelease=true -Dwasm- Run the webpage:
cd docs
python -m http.server 3333-
Open a browser to (http://localhost:3333/)
-
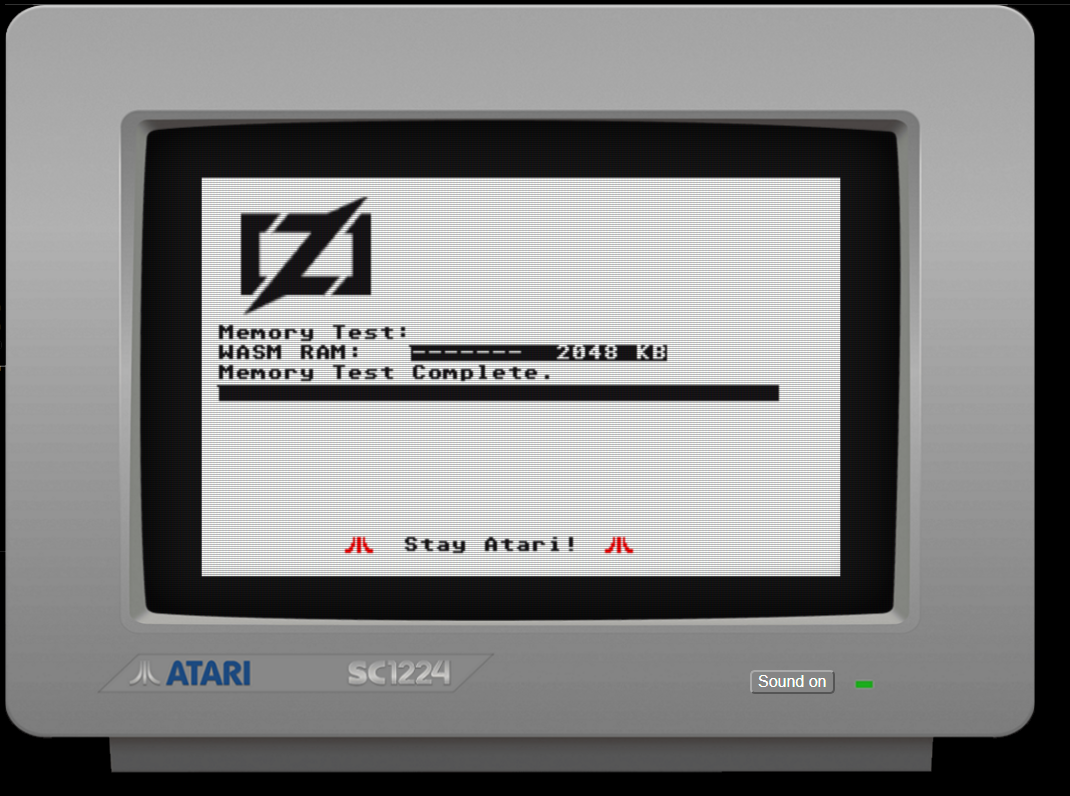
You should see the ZigMachine boot screen!
- the ZigMachine has 4 logical framebuffers of 320x200 pixels in palette mode (each framebuffer byte is a reference to an index in the framebuffer palette of 256 colors)
So to enable and use one of the 4 framebuffers:
var fb: *LogicalFB = &zigos.lfbs[0]; // 0 is the first framebuffer
fb.is_enabled = true;
To set a particular palette entry you can do for example:
fb.setPaletteEntry(4, Color{ .r = 0xF0, .g = 0xF0, .b = 0xF0, .a = 255 });- The ZigMachine bootloader loads a
Demoscreen:- Call your
init(self: *Demo, zigos: *ZigOS)function first - Then each frame (1/60s) call your
update(self: *Demo, zigos: *ZigOS, time_elapsed: f32)thenrender(self: *Demo, zigos: *ZigOS, time_elapsed: f32)functions forever
- Call your
In each function your have a pointer to ZigOS and to your Demo variables (defined as struct attributes).
Feel free to look at the examples and hopefully it will make sense! Zig is a low level language but contrary to C, it is not permissive at all (looking a little like ADA) so you will have to code cleanly :) A little tough as the beginning but after a while that's pretty nice and safe!
I hope you'll enjoy it!